9 min read
How Laravel Reverb Facilitates Real-Time Communication for Developers
Lead Full-Stack Developer
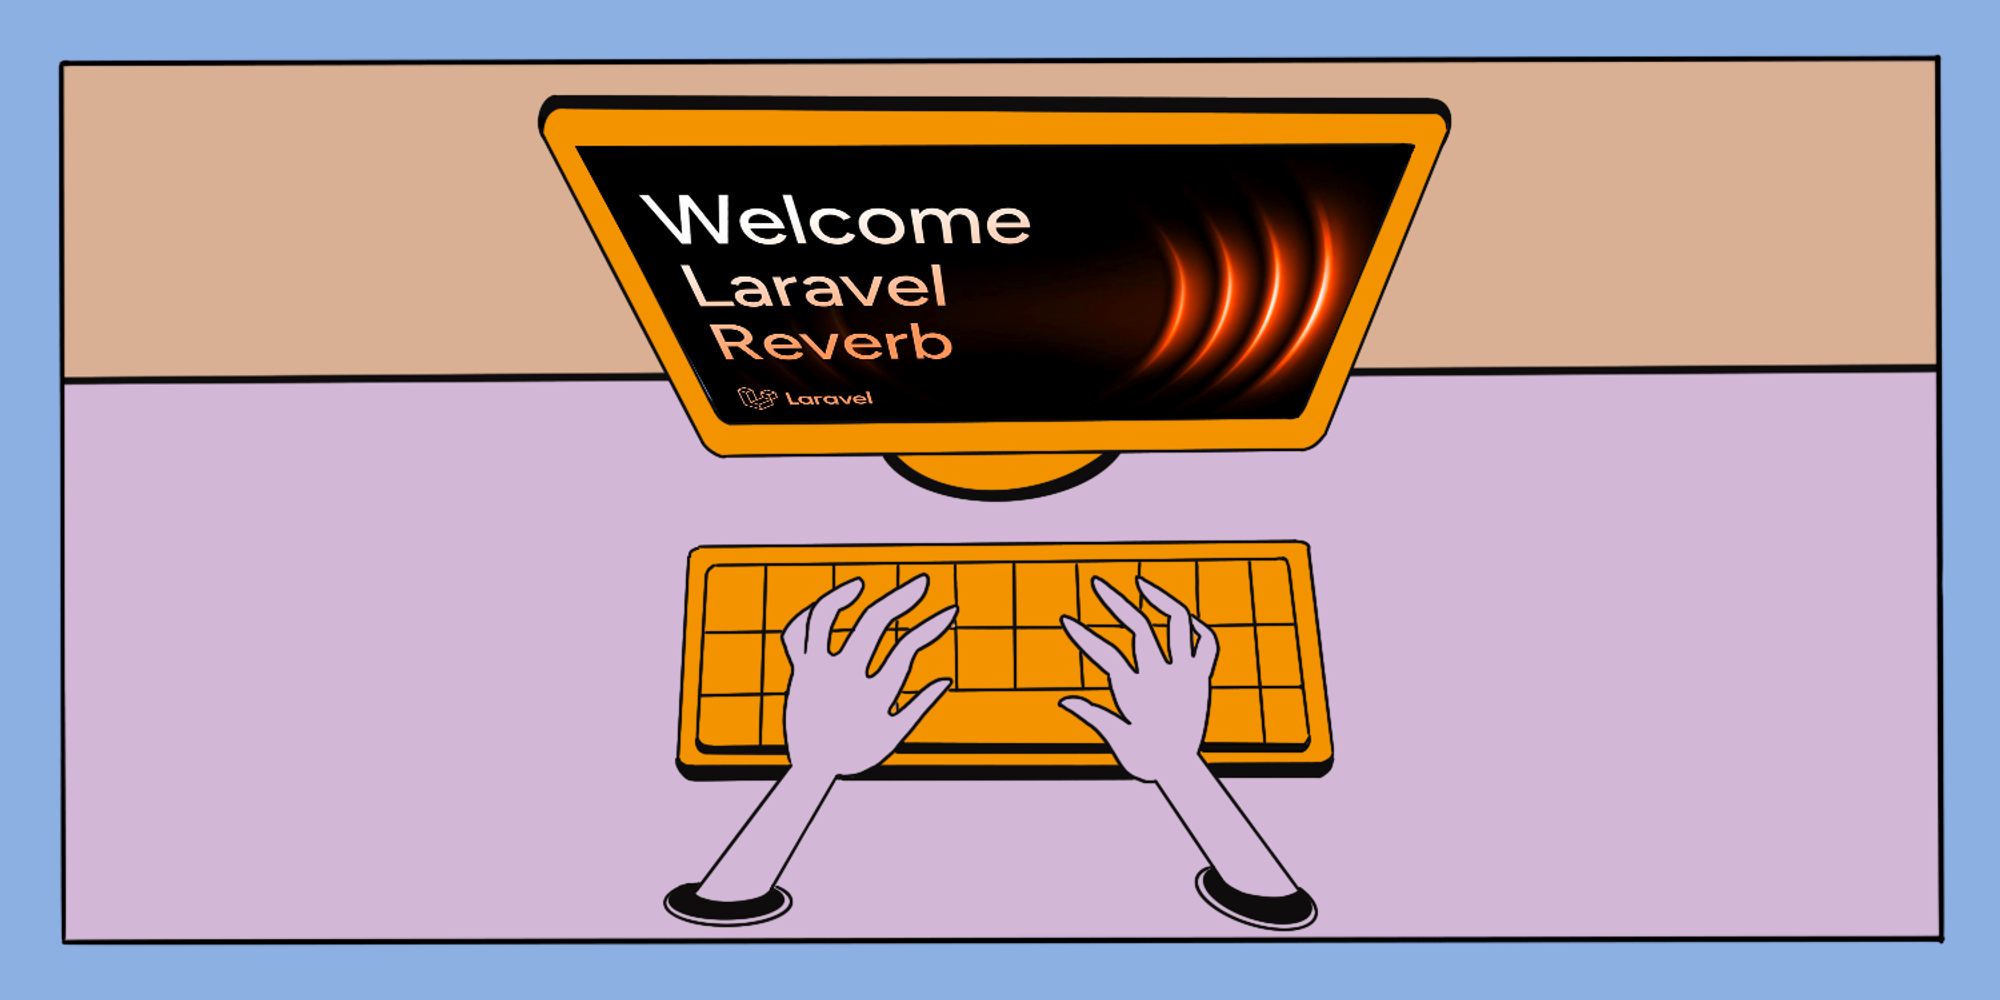
Laravel Reverb is a new Laravel family member which was released just a week ago. It’s a new first-party WebSocket server for the Laravel apps, which offers complete solutions for real-time communication between client and server.
Wondering what makes Laravel Reverb special? This article will break down its cool features and show you a real-life example of how to use it in an actual Laravel project.
Laravel Reverb: Exploring The Key Features
With Laravel Reverb, you can now accomplish more with your Laravel-based projects thanks to a fresh set of features and capabilities. As mentioned earlier, Reverb’s main goal is to ensure smooth communication between the web application’s client and server sides through real-time interaction. Here’s a quick rundown of what Laravel Reverb can do for you:
Event Broadcasting: Reverb simplifies real-time data broadcasting which enables applications to easily update the user interface without needing to reload the page.
WebSockets Integration: Reverb offers an effective method to create bidirectional, real-time communication channels between clients and servers by using WebSockets.
Elegant API: It offers a fantastic, expressive API that follows the Laravel philosophy and makes it straightforward for developers to construct sophisticated real-time features with little to no code.
Seamless Frontend Integration: Reverb has been designed to integrate effortlessly with well-known frontend frameworks. It makes it easier for developers to add real-time data to their Laravel applications without having to make significant changes.
Speed: Since Reverb is built for rapid communication, it efficiently manages thousands of connections to ensure real-time responsiveness.
Scalability: It is built to scale easily, using Redis for the effective distribution of connections and data across multiple servers.
Laravel Reverb: What Are The Real-World Use Cases?
Because of its adaptability, Laravel Reverb can handle a wide range of tasks, from small projects to large enterprise-level systems. Here are some practical use cases:
E-Commerce Platforms: For live product updates, inventory management, and instant notifications on customer orders and shipping status.
Social Networking Sites: Implementing real-time feeds, notifications, and chat systems, enhancing user engagement and interactivity.
Online Collaboration Tools: Creating platforms where multiple users can work on documents or projects simultaneously, with changes reflected in real time.
Live Sports Updates and Streaming Services: Providing users with instant updates on scores, events, or streaming content without latency.
Implementing Laravel Reverb Into a Chat Project
To learn more about Laravel Reverb, let’s create a mini-chat project. The project will include a list of chat rooms, and users will be able to join any of the rooms and then start chatting with each other.
Step 1: Setting Up Laravel Project
First, make sure you have Composer installed on your system. Then, create a new Laravel project by running the following:
composer create-project --prefer-dist laravel/laravel laravel-reverb-chatNavigate to your project directory:
cd laravel-reverb-chatStep 2: Installing Laravel Reverb
Install Laravel Reverb by running the following command:
php artisan install:broadcasting
npm install --save laravel-echo pusher-js
Once you’ve installed Reverb, you can now modify its configuration from the `config/reverb.php` file. In order to establish a connection to Reverb, a set of Reverb “application” credentials must be exchanged between the client and server. These credentials are configured on the server and are used to verify the request from the client. You can define these credentials using the following environment variables:
BROADCAST_DRIVER=reverb
REVERB_APP_ID=my-app-id
REVERB_APP_KEY=my-app-key
REVERB_APP_SECRET=my-app-secret
Step 3: Running Server
You can launch the Reverb server by using the reverb:start Artisan command:
php artisan reverb:startBy default, the Reverb server will be started at 0.0.0.0:8080, which makes it accessible from all network interfaces.
If you want to set a specific host or port, you can use the –host and –port options when starting the server.
php artisan reverb:start --host=127.0.0.1 --port=9000You can also define REVERB_SERVER_HOST and REVERB_SERVER_PORT environment variables in your application’s .env configuration file.
Step 4: Setup Database
Open your .env file and adjust the settings to set up your database. Here’s an example using SQLite for simplicity:
DB_CONNECTION=sqlite
DB_DATABASE=/path/to/database.sqlite
You can create an SQLite database by simply running:
touch /path/to/database.sqliteFor this demo, we’ll create five predefined rooms. Let’s start by generating a migration for a rooms table.
php artisan make:model Room --migrationTo make it simpler, only create name attributes for this model and migrate it.
Schema::create('rooms', function (Blueprint $table) {
    $table->id();
    $table->string('name');
    $table->timestamps();
});
php artisan migrateAfter that, seed the database with five rooms. Create a seeder:
php artisan make:seeder RoomsTableSeeder In the RoomsTableSeeder, add:
DB::table('rooms')->insert([
    ['name' => 'Room 1'],
    ['name' => 'Room 2'],
    ['name' => 'Room 3'],
    ['name' => 'Room 4'],
    ['name' => 'Room 5'],
]);
Run seeder:
php artisan db:seed --class=RoomsTableSeederStep 5: Create Event
Inside the `app/Events` directory, create a new MessageSent.php file. This file is responsible for broadcasting new messages to dedicated chat rooms. Here’s a basic template:
class MessageSent implements ShouldBroadcast
{
    use Dispatchable, InteractsWithSockets, SerializesModels;

    public $userName;
    public $roomId;
    public $message;

    public function __construct($userName, $roomId, $message)
    {
        $this->userName = $userName;
        $this->roomId = $roomId;
        $this->message = $message;
    }

    public function broadcastOn() : Channel
    {

        return new Channel('chat.' . $this->roomId);
    }

    public function broadcastWith()
    {
        return [
            'userName' => $this->userName,
            'message' => $this->message,
        ];
    }
}
Step 6: Create Pages
In this project, we’ll have two pages: one to display a list of rooms and another for individual chat rooms. We’ll start by creating Blade templates to show the rooms. Let’s name these views index.blade.php and chat.blade.php and store them in a rooms directory under resources/views. Next, we’ll create a controller and a route to navigate to these pages.
index.blade.php
<!DOCTYPE html>
<html lang="en">
<head>
    <meta charset="UTF-8">
    <title>Chat Rooms</title>
</head>
<body>
<div id="app">
    <h1>Chat Rooms</h1>
    <ul>
        @foreach($rooms as $room)
            <li>
                <a href="{{ route('rooms.show', $room->id) }}">Join {{ $room->name }}</a>
            </li>
        @endforeach
    </ul>
</div>
</body>
</html>
chat.blade.php
Set up a basic form to show chats and a simple input field for messaging. Make sure that you have Echo and Pusher imported in an app.js file.
<!DOCTYPE html>
<html lang="en">
<head>
    <meta charset="UTF-8">
    <meta name="viewport" content="width=device-width, initial-scale=1.0">
    <title>Chat Room: {{ $room->name }}</title>
    @vite(['resources/css/app.css'])
    @vite(['resources/js/app.js'])
</head>
<body>
<div id="app">
    <h2>Chat Room: {{ $room->name }}</h2>
    <div id="messages"
         style="border: 1px solid #ccc; margin-bottom: 10px; padding: 10px; height: 300px; overflow-y: scroll;">
        <!-- Messages will be displayed here -->
    </div>
    <input type="text" id="messageInput" placeholder="Type your message here..." autofocus>
    <button onclick="sendMessage()">Send</button>
</div>

<script>
    document.addEventListener('DOMContentLoaded', function () {
        const roomId = "{{ $room->id }}";
        Echo.channel(`chat.${roomId}`)
            .listen('MessageSent', (e) => {
                const messages = document.getElementById('messages');
                const messageElement = document.createElement('div');
                messageElement.innerHTML = `<strong>${e.userName}:</strong> ${e.message}`;
                messages.appendChild(messageElement);
                messages.scrollTop = messages.scrollHeight; // Scroll to the bottom
            });
    })

    function sendMessage() {
        const messageInput = document.getElementById('messageInput');
        const message = messageInput.value;
        messageInput.value = ''; // Clear input
        const roomId = "{{$room->id}}"
        fetch(`/rooms/${roomId}/message`, {
            method: 'POST',
            headers: {
                'X-CSRF-TOKEN': '{{ csrf_token() }}',
                'Content-Type': 'application/json'
            },
            body: JSON.stringify({message: message})
        }).catch(error => console.error('Error:', error));
    }

</script>
</body>
</html>
php artisan make:controller RoomsControllerImporting Echo and Pusher:
import Echo from 'laravel-echo';

import Pusher from 'pusher-js';
window.Pusher = Pusher;

window.Echo = new Echo({
    broadcaster: 'reverb',
    key: import.meta.env.VITE_REVERB_APP_KEY,
    wsHost: import.meta.env.VITE_REVERB_HOST,
    wsPort: import.meta.env.VITE_REVERB_PORT ?? 80,
    wssPort: import.meta.env.VITE_REVERB_PORT ?? 443,
    forceTLS: (import.meta.env.VITE_REVERB_SCHEME ?? 'https') === 'https',
    enabledTransports: ['ws', 'wss'],
});
Now, let’s setup view methods:
class RoomsController extends Controller
{
    public function index()
    {
        $rooms = Room::all();
        return view('rooms.index',[
            'rooms' => $rooms
        ]);
    }

    public function show(Room $room)
    {
        return view('rooms.chat', [
            'roomId' => $room->id,
            'messages' => []
        ]);
    }
}
To keep things simple, let’s create a postMessage endpoint and add it to web.php.
php artisan make:controller ChatControllerclass ChatController extends Controller
{
public function postMessage(Request $request, $roomId)
{
$userName = 'User_' . Str::random(4);
$messageContent = $request->input('message');
MessageSent::dispatch($userName, $roomId, $messageContent);
return response()->json(['status' => 'Message sent successfully.']);
}
}routes/web.php file:
Route::get('/rooms', [RoomsController::class, 'index'])->name('rooms.index');
Route::get('/rooms/{room}', [RoomsController::class, 'show'])->name('rooms.show');
Route::post('/rooms/{roomId}/message', [ChatController::class, 'postMessage'])->name('api.rooms.message.post');
Step 7: Run Project
To run Laravel project, we need to execute the following command:
php artisan serveFor starting front:
npm run devStart queue:
php artisan queue:listenRun reverb:
php artisan reverb:startHere’s a link to the repository.
For more in-depth information, you can check the official documentation of Laravel Reverb.
Want a closer look at what we can build with Laravel? Visit the page for more details about our offer. If you have any questions or need advice, don’t hesitate to reach out - we’d love to help!
About the author

Lead Full-Stack Developer at Redberry
Led Medlocums, a UK Health Tech Platform
Andria is a Lead Full-Stack Developer at Redberry with 8+ years specializing in Laravel and Vue.js. He architects scalable systems and leads cross-functional teams across SaaS, fintech, and iGaming, including Medlocums (UK health tech), Rochservice (public-lighting infrastructure), and Garantme's authentication and subscription services.
Last updated on Jul 10, 2026 by


Meet the authors
We are a 200+ people agency and provide product design, software development, and creative growth marketing services to companies ranging from fresh startups to established enterprises. Our work has earned us 100+ international awards, partnerships with Laravel, Vue, Meta, and Google, and the title of Georgia’s agency of the year in 2019 and 2021.


.webp&w=1920&q=75&dpl=dpl_9xQxFYDVmEx871eGvoCPifh1CjuD)